10. Blending

Blending hides the seams between stitched footage
Blending uses a variety of mathematical evaluations of the image pixels to try and make one continuous piece of footage with invisible seams. Each camera lens that we shoot with inevitably has some overlap with the next camera - this is good, because it helps us align everything properly.
Blending is the step that helps determine, in areas that are duplicated, what takes precedence - what we see, how those two edges are joined together in a seam - just as if we were making a cloth globe out of individual pieces of fabric.
To see the blending options, click the Blend button at the top of the screen.

Click the Blend button to open the blending options
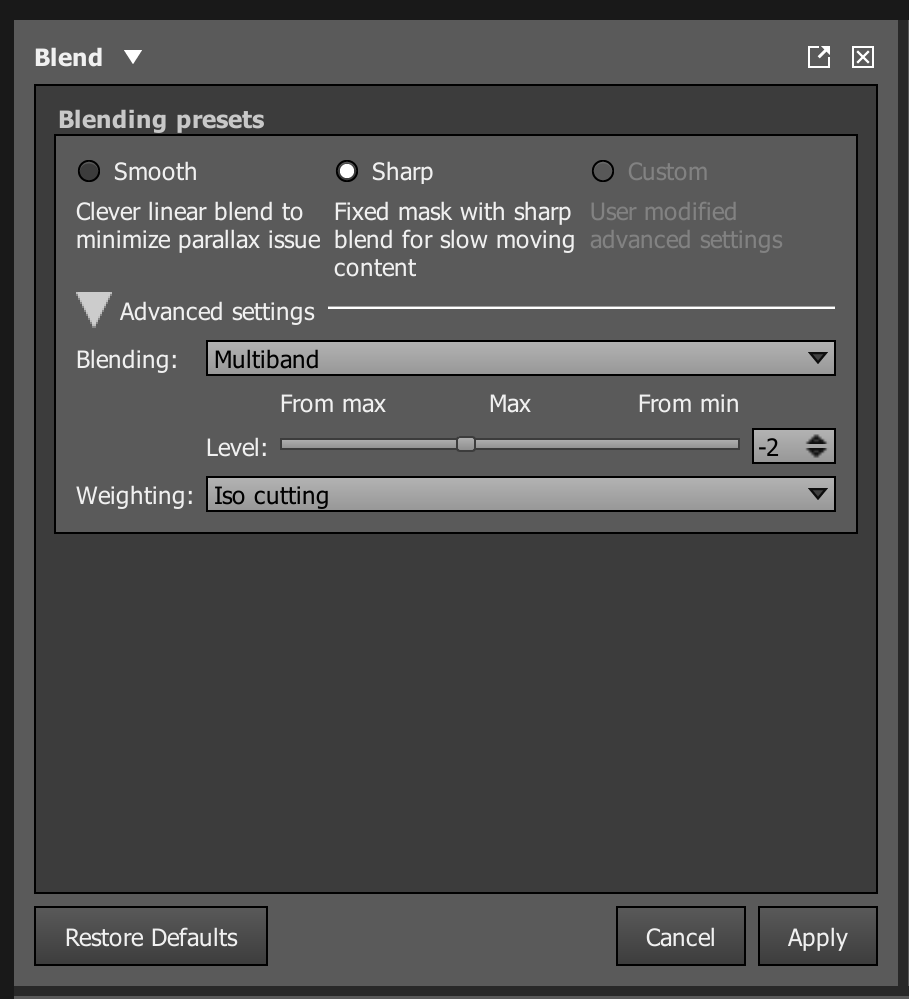
There are several blend options in Autopano Video.
For this lesson, just use the Sharp preset. This set the Blending mode to Multiband and the Weighting mode to Iso cutting. It will work well for this relatively slow-moving content.
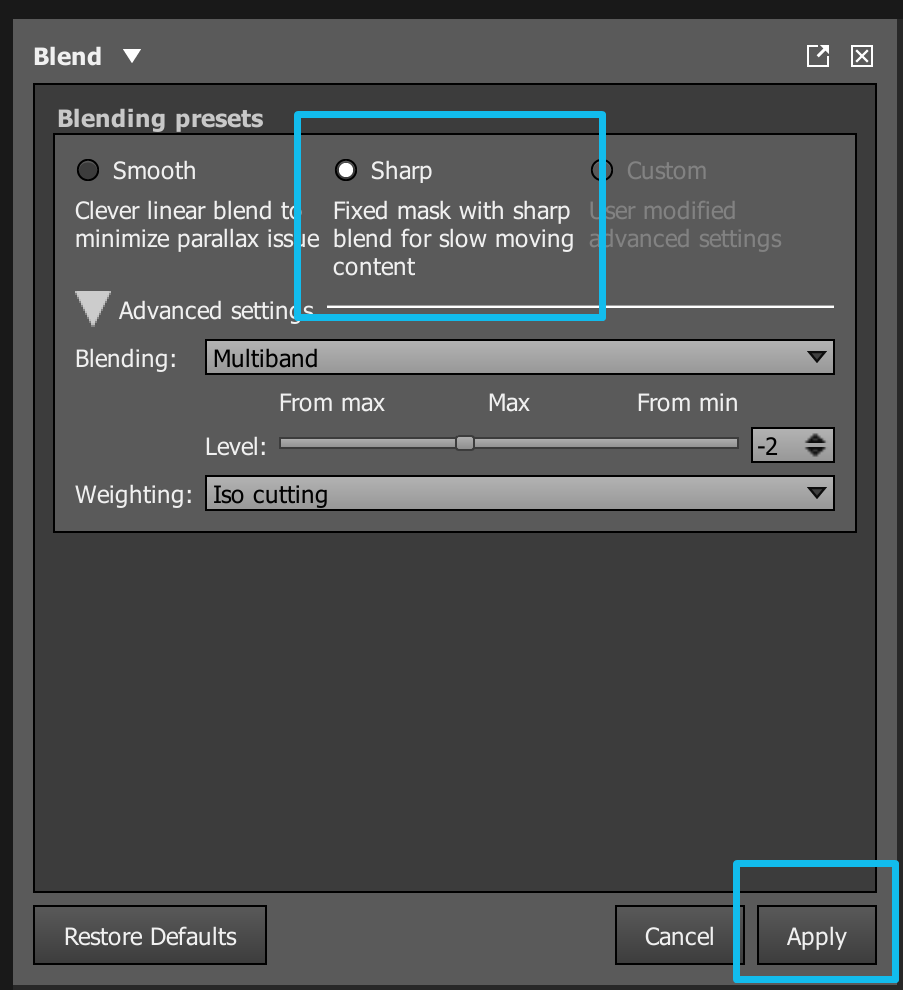
For now, just use the Sharp preset and click Apply